Caring for Your Boat: A Comprehensive Guide to Canvas Cover Repair
Assessing and Identifying Canvas Damage
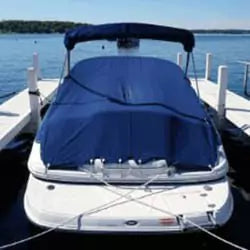
Repairing a boat cover canvas can help extend its lifespan and keep your boat protected from the elements. Whether you have a small tear, a worn-out seam, or other damage, here's a detailed guide on how to repair your boat cover canvas.
Materials You'll Need:
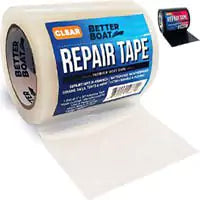
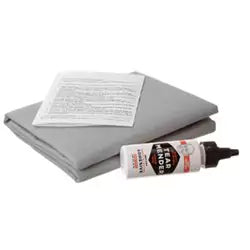
Boat Cover Canvas Repair Kit: You can find these at marine supply stores or online. They typically include patches, adhesive, and sometimes thread and a needle.
Scissors: To trim excess fabric and create clean edges.
Utility Knife: For precise cutting of damaged sections.
Ruler or Measuring Tape: To measure the damaged area and ensure proper patch placement.
Pencil or Chalk: To mark the damaged area and guide your repairs.
Clean Cloth and Mild Soap: To clean the canvas before repairing it.
Rubbing Alcohol: For cleaning and preparing the surface.
Sandpaper (Fine Grit): To smooth the canvas before applying the patch.
Needle and Thread (Optional): If your repair kit doesn't include thread and a needle.
Instructions:
Assess the Damage:
Lay out the boat cover on a flat, clean surface.
Identify all damaged areas, including tears, holes, or worn-out seams. Make a list if there are multiple issues.
Clean the Canvas:
Use a clean cloth and mild soap to clean the canvas in the damaged area. This ensures a clean surface for repairs.
Rinse thoroughly to remove any soap residue.
Dampen a cloth with rubbing alcohol and wipe down the damaged area to remove any remaining grime or oils. Allow it to dry completely.
Prepare the Damaged Area:
Trim any loose or frayed threads around the damaged area with scissors.
If there are rough edges or small protrusions, lightly sand them with fine-grit sandpaper to create a smooth surface.
Mark the Damage:
Use a pencil or chalk to mark the boundaries of the damaged area. This will guide your patch placement.
Apply the Patch:
Follow the instructions on your canvas repair kit.
Typically, you'll apply adhesive to the back of the patch and press it firmly onto the damaged area, ensuring it covers the entire marked section.
Smooth out any bubbles or wrinkles, and press firmly to ensure a good bond.
Allow Proper Drying Time:
Different adhesive products have varying drying times. Follow the recommended drying time provided by the manufacturer.
Ensure the repair area remains clean and undisturbed during this time.
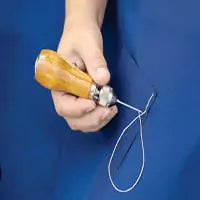
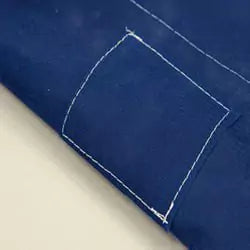
Optional Stitching (If Needed):
If the damage is extensive or the patch isn't secure enough with adhesive alone, you can use a needle and thread to reinforce the repair.
Stitch around the edges of the patch, approximately 1/8 to 1/4 inch from the patch's edge.
Inspect and Test:
After the adhesive has dried or your stitching is complete, inspect the repair to ensure it's secure.
Gently tug on the repaired area to check for any signs of weakness or detachment.
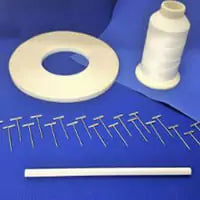
Reinforce Seams (Optional):
If you have worn-out seams on the canvas, you can apply seam sealer or seam tape to reinforce them. Follow the manufacturer's instructions for these products.
Clean and Maintain:
Regularly clean and maintain your boat cover to prevent further damage and extend its lifespan.
Repairing your boat cover canvas can be a cost-effective way to keep it functional for years to come. However, for extensive or complex repairs, consider consulting a professional canvas repair specialist for the best results.